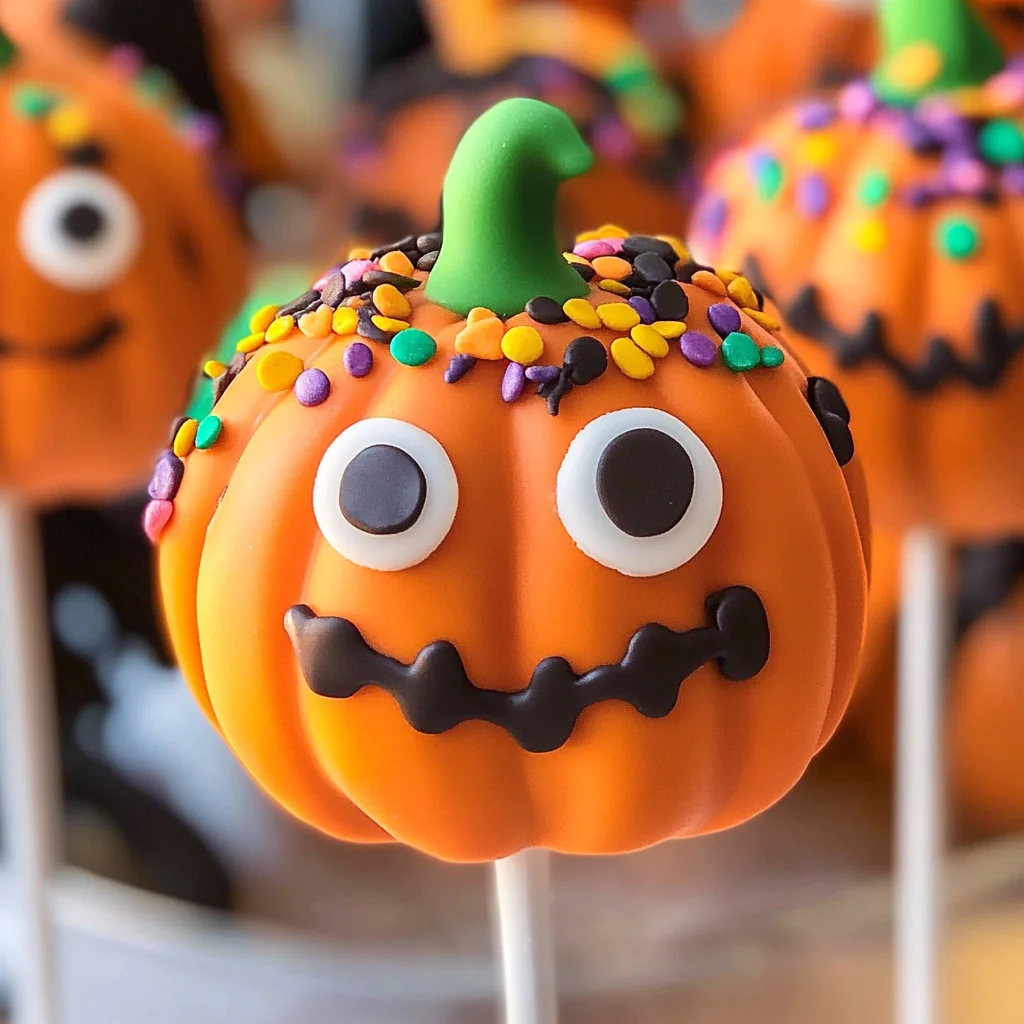
Halloween Cake Pops
If you’re looking for a fun and festive treat to make this Halloween, you’ve come to the right place! These Halloween Cake Pops are not only adorable but also delicious. They are the perfect addition to any Halloween party, and they bring a delightful touch of whimsy to your dessert table. The best part? You can involve the little ones in decorating these spooky treats, making it a memorable family activity.
These cake pops are flexible enough for any occasion, from busy weeknights to family gatherings. They’re easy to whip up using simple ingredients that you probably already have in your pantry. Plus, who doesn’t love a bite-sized piece of cake covered in colorful candy melts?
Why You’ll Love This Recipe
- Easy to Make: With just a few simple steps, you’ll have a batch of delightful cake pops ready to impress everyone.
- Family-Friendly Fun: Get the kids involved! Decorating these cake pops is an enjoyable activity for all ages.
- Versatile Treats: You can customize them for various occasions beyond Halloween with different decorations and flavors.
- Make-Ahead Convenience: Prepare them in advance and chill until you’re ready to serve. They’re perfect for meal prep!
- Deliciously Irresistible: The combination of cake and frosting makes every bite heavenly.
Ingredients You’ll Need
These Halloween Cake Pops come together using some simple and wholesome ingredients. You’ll love how easy it is to find everything you need at your local grocery store!
For the Cake
- 1 box Favorite cake mix
- 1 3.4 oz box instant pudding mix
- 4 eggs
- 1 cup water
- 1/3 cup vegetable oil
For the Decoration
- 1 cup Frosting
- Candy Melts
- Toppings – sprinkles, candy eyes
Variations
One of the best things about this recipe is its flexibility! Feel free to get creative with flavors and decorations.
- Change Up the Flavor: Use chocolate or red velvet cake mix for a different taste.
- Decorate for Any Occasion: Swap out Halloween-themed decorations for birthdays or holidays with seasonal colors.
- Use Dairy-Free Alternatives: Substitute frosting with vegan frosting or whipped coconut cream if preferred.
- Try Different Shapes: Instead of traditional pops, shape your cake mixture into fun characters or spooky figures!
How to Make Halloween Cake Pops
Step 1: Prepare Your Cake
Preheat your oven to 350°F and spray your 13 x 9 pan with vegetable pan spray. This step ensures that your cake will come out easily without sticking, giving you those perfect cake pops later!
Step 2: Mix Your Ingredients
In a large bowl, combine the cake mix, pudding mix, eggs, water, and oil. Beat at medium speed for about 2 minutes until smooth. Pour this delicious batter into your greased pan. Mixing well is important because it helps achieve that moist texture we all love in cakes!
Step 3: Bake It Up!
Bake for 30-40 minutes or until a toothpick inserted into the center comes out clean. Let it cool in the pan for about 10 minutes before transferring it to a wire rack. Proper cooling is key—this way, you won’t risk melting your frosting when mixing.
Step 4: Crumble the Cake
In a large bowl, use your hands (or two forks) to crumble the cooled cake until no large chunks remain. This is where the magic happens! Crumbling allows you to mix in frosting evenly, creating that deliciously moist filling.
Step 5: Add Frosting
Now it’s time to add in that sweet frosting! Mix with your fingers until everything is well combined. This step really brings everything together; it’s what makes each bite so delightful.
Step 6: Shape Your Cake Balls
Form the mixture into balls about an inch in diameter—these will be your cake pops. The size can vary depending on how big you want them; just remember that smaller balls will set quicker!
Step 7: Chill Out!
Chill those formed balls in the refrigerator for at least two hours or until firm. Chilling helps them hold their shape when you dip them into melted candy melts later.
Step 8: Melt Candy Melts
Melt some Candy Melts in short intervals of about 30 seconds in the microwave (at half power) or on a stovetop. Stirring between intervals ensures even melting—this will create a smooth coating for dipping.
Step 9: Insert Sticks
Dip one end of each stick into melted Candy Melts before inserting them into the chilled cake balls. This helps secure them better later on! Allow these sticks to set; if you’re short on time, pop them in the freezer for around 20 minutes.
Step 10: Dip Away!
Once set, dip each pop completely into melted Candy Melts. Make sure they are fully coated! This adds sweetness and stability while giving them that vibrant color.
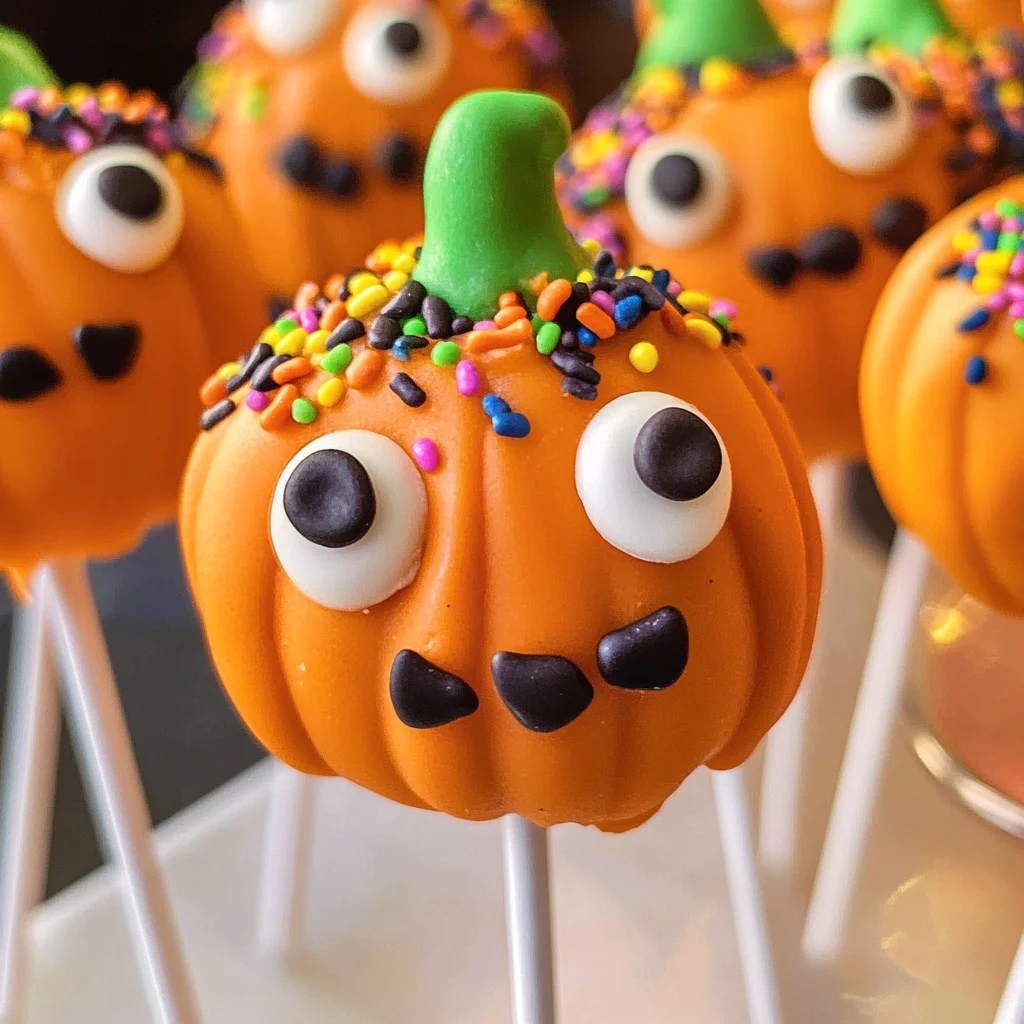
Step 11: Decorate!
Sprinkle on your favorite toppings like chopped-up candy or sprinkles while the coating is still wet. Get creative—this is where you can let your imagination run wild!
Enjoy making these Halloween Cake Pops! They’re sure to be a hit at any gathering!
Pro Tips for Making Halloween Cake Pops
Making Halloween Cake Pops can be a delightful experience, and with a few tips, you can ensure they turn out perfectly every time!
- Use quality cake mix: Opting for a high-quality cake mix can make a noticeable difference in flavor and texture, ensuring your pops are moist and delicious.
- Don’t skip the chilling step: Chilling your cake balls helps them hold their shape when you dip them in melted Candy Melts. A firm base makes for easier handling and better presentation.
- Be patient with melting: Melting Candy Melts requires patience; stirring frequently while microwaving helps achieve a smooth consistency without burning. This ensures an even coating on your cake pops.
- Experiment with decorations: Have fun with toppings! Using different sprinkles, candy eyes, or even edible glitter can transform your cake pops into spooky masterpieces that capture the Halloween spirit.
- Store properly: If you’re making these ahead of time, store your cake pops in an airtight container in the refrigerator. This keeps them fresh and prevents any unwanted moisture from ruining their texture.
How to Serve Halloween Cake Pops
Serving your Halloween Cake Pops can be as festive as making them! Here are some creative ideas to make your presentation stand out at your next Halloween gathering.
Garnishes
- Chocolate drizzle: Drizzling melted chocolate over the finished cake pops adds a touch of elegance and extra sweetness.
- Colored sugar: Sprinkle colored sugar on top of the melted Candy Melts for a sparkly effect that’s sure to catch the eye.
- Halloween-themed picks: Use themed picks or decorative straws to add flair and make them easier to grab.
Side Dishes
- Pumpkin soup: This warm, creamy soup is perfect for fall and complements the sweetness of the cake pops beautifully.
- Cheesy ghost breadsticks: These playful breadsticks shaped like ghosts provide a savory contrast and are always a hit with kids and adults alike.
- Veggie platter with dip: A colorful assortment of fresh veggies served with a zesty dip makes for a refreshing side that balances out sweet treats.
- Apple slices with caramel dip: Crisp apple slices paired with rich caramel create a deliciously sweet and slightly tart side that aligns perfectly with the Halloween theme.
With these tips and serving suggestions, your Halloween Cake Pops will not only taste fantastic but also look spooktacular on any table! Enjoy creating these delightful treats, and happy baking!
Make Ahead and Storage
These Halloween Cake Pops are perfect for meal prep! You can make them in advance and store them for a festive treat any time. They keep well, allowing you to enjoy the spooky fun without the last-minute rush.
Storing Leftovers
- Keep the cake pops in an airtight container at room temperature for up to 3 days.
- If you prefer them chilled, store them in the refrigerator, where they will last up to a week.
Freezing
- To freeze, place the cake pops on a baking sheet and freeze until solid.
- Once frozen, transfer them to a freezer-safe bag or container, where they can be stored for up to 2 months.
- When ready to enjoy, thaw them in the refrigerator overnight before serving.
Reheating
- For best results, enjoy your cake pops cold or at room temperature.
- If desired, you can place them in a microwave for a few seconds to warm slightly, but be cautious not to melt the coating.
FAQs
Here are some common questions about Halloween Cake Pops that might help you!
Can I use different flavors for Halloween Cake Pops?
Absolutely! You can use any flavor of cake mix and frosting that you love. Whether it’s vanilla, chocolate, or even red velvet, feel free to get creative with your flavors!
How long do Halloween Cake Pops last?
If stored properly in an airtight container, Halloween Cake Pops can last up to 3 days at room temperature and up to a week in the refrigerator.
Can I make Halloween Cake Pops ahead of time?
Yes! These delightful treats can be made ahead of time and stored in an airtight container. They actually taste great after being chilled or frozen!
What toppings work best for Halloween Cake Pops?
You can use a variety of toppings such as sprinkles, candy eyes, or crushed candies. Get creative and have fun decorating based on your favorite Halloween themes!
Final Thoughts
These Halloween Cake Pops are not only fun but also bring joy to any gathering with their cute designs and delicious flavors. I hope you enjoy making these delightful treats as much as I do! Whether you’re hosting a party or just looking for something festive to enjoy with family, these cake pops will surely impress. Happy baking and have a spook-tacular Halloween!
Halloween Cake Pops

Create delightful Halloween Cake Pops that are not only visually appealing but also irresistibly tasty! These bite-sized treats are perfect for any festive gathering, adding a playful and spooky flair to your dessert table. With simple ingredients and an easy-to-follow process, you can involve the kids in decorating these fun treats, making it a memorable family activity. Perfect for parties or just a fun treat at home, these cake pops can be customized for any occasion with different flavors and decorations. Get ready to impress your guests and enjoy the sweet satisfaction of homemade goodies!
- Prep Time: 20 minutes
- Cook Time: 40 minutes
- Total Time: 1 hour
- Yield: Approximately 24 cake pops 1x
- Category: Dessert
- Method: Baking
- Cuisine: American
Ingredients
- 1 box favorite cake mix
- 1 3.4 oz box instant pudding mix
- 4 eggs
- 1 cup water
- 1/3 cup vegetable oil
- 1 cup frosting
- Candy melts (for coating)
- Toppings (sprinkles, candy eyes)
Instructions
- Preheat oven to 350°F and grease a 13 x 9 pan.
- In a large bowl, mix cake mix, pudding mix, eggs, water, and oil until smooth. Pour into the pan.
- Bake for 30-40 minutes or until a toothpick comes out clean. Cool for 10 minutes, then transfer to a wire rack.
- Once cooled, crumble the cake into a large bowl and mix in frosting until well combined.
- Form mixture into balls about an inch in diameter and chill for at least two hours until firm.
- Melt candy melts in short intervals until smooth. Dip one end of each stick into the melts and insert into the chilled balls.
- Once set, dip each pop fully into melted candy melts and decorate with your choice of toppings.
Nutrition
- Serving Size: 1 serving
- Calories: 160
- Sugar: 12g
- Sodium: 80mg
- Fat: 6g
- Saturated Fat: 2g
- Unsaturated Fat: 4g
- Trans Fat: 0g
- Carbohydrates: 25g
- Fiber: <1g
- Protein: 2g
- Cholesterol: 30mg