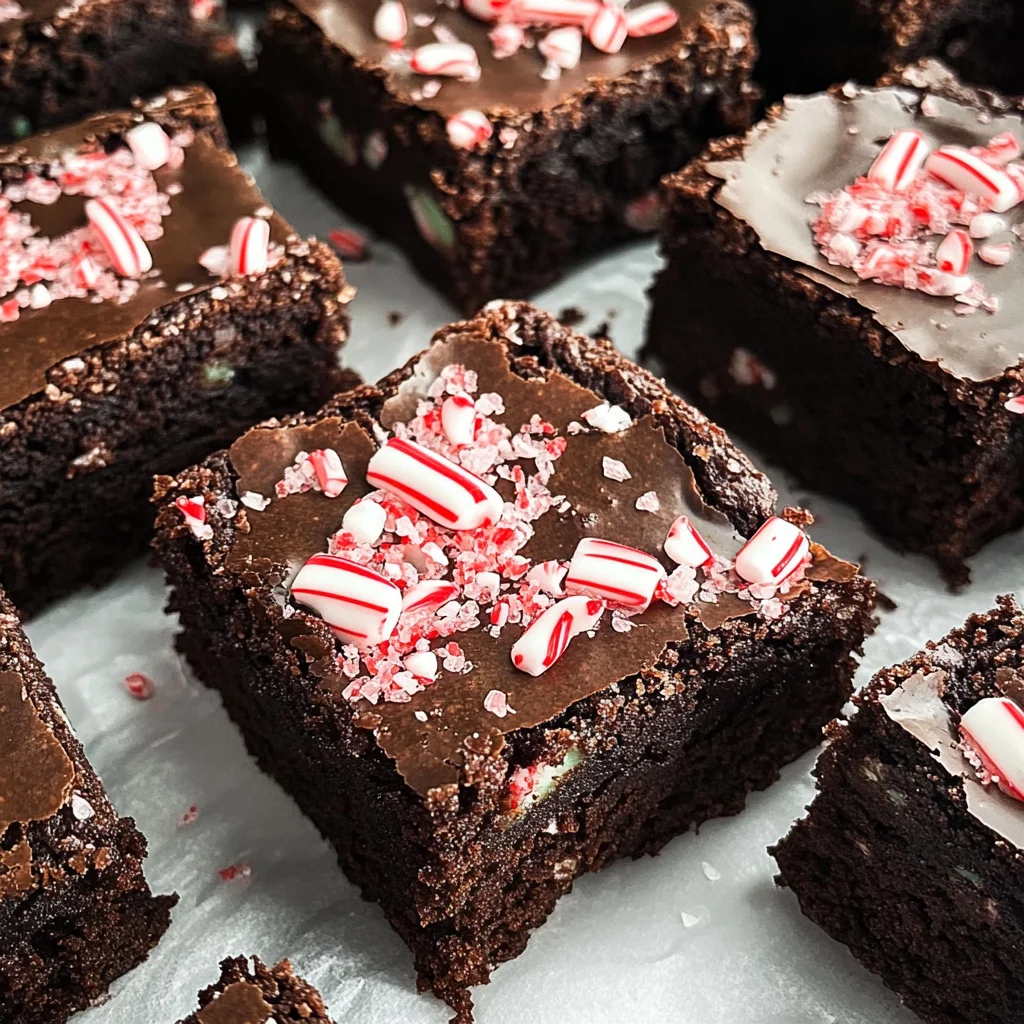
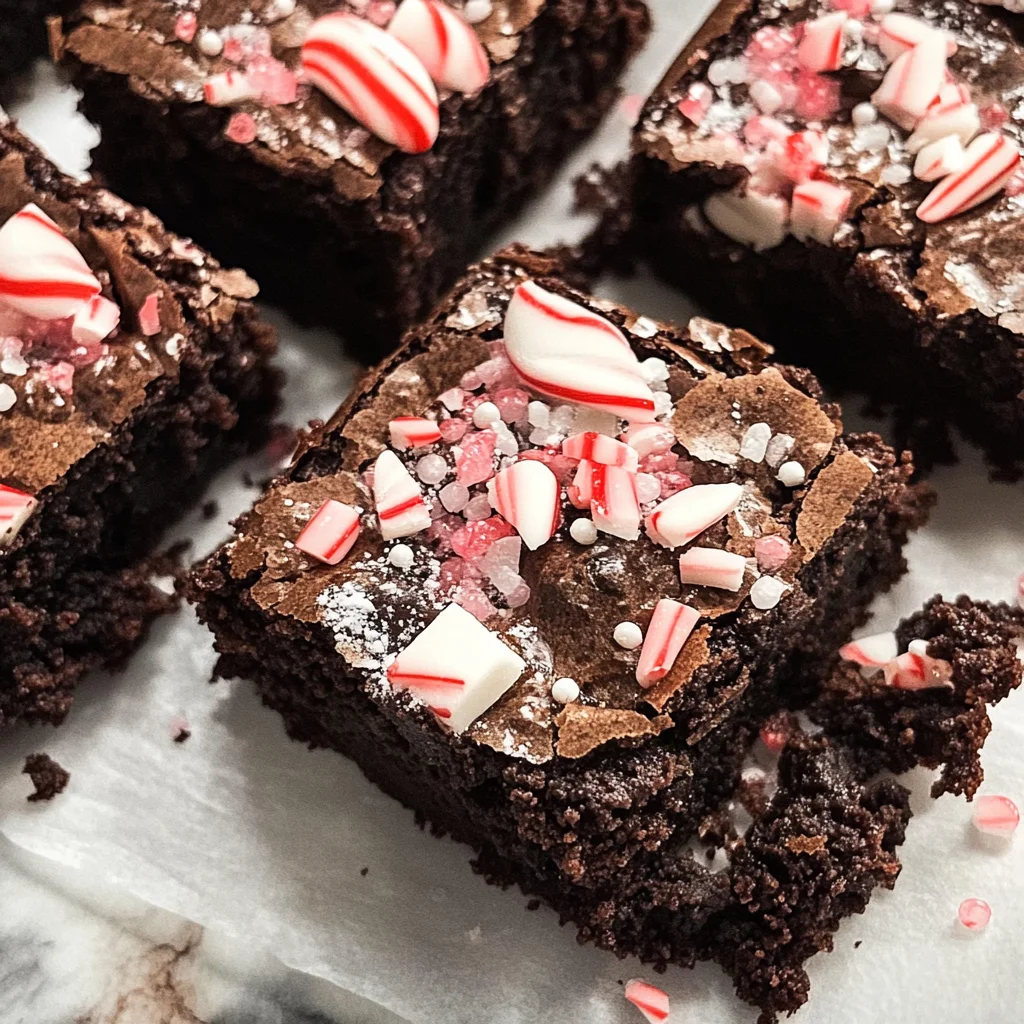
Dark Chocolate Peppermint Brownies
If you’re looking for a dessert that feels like a warm hug on a chilly day, these Dark Chocolate Peppermint Brownies are just the ticket! Rich, fudgy, and bursting with chocolatey goodness, they are perfect for any occasion. Whether it’s a cozy family gathering or a busy weeknight treat to indulge in, these brownies will surely delight everyone around you. Plus, they’re gluten-free and paleo-friendly, making them a guilt-free indulgence!
What makes these brownies truly special is the refreshing hint of peppermint that takes them to another level. Trust me, once you take that first bite, you’ll understand why this recipe has become one of my all-time favorites.
Why You’ll Love This Recipe
- Easy to Make: With just a few simple steps, you’ll have delicious brownies ready in no time!
- Perfectly Fudgy: The blend of ingredients creates a dense and moist brownie that melts in your mouth.
- Family-Friendly: Kids and adults alike will love the rich chocolate flavor combined with festive peppermint.
- Make Ahead: These brownies store well in the fridge, making them great for meal prep or last-minute gatherings.
- Customizable: You can add your favorite toppings or mix-ins to make these brownies uniquely yours!
Ingredients You’ll Need
Let’s gather some simple and wholesome ingredients to whip up these delightful Dark Chocolate Peppermint Brownies. Each component plays an important role in creating that rich texture and flavor we all crave!
For the Brownie Base
- 6 Tablespoons butter or coconut oil
- 1/2 cup chocolate chips
- 1 large egg plus 1 large yolk
- 1/2 teaspoon vanilla
- 1/2 cup no-sugar-added applesauce
- 3/4 cup blanched almond flour
- 1/2 cup cocoa powder (Special Dark is recommended)
- 3 Tablespoons granulated monk fruit sweetener or granulated stevia
- 1/4 teaspoon salt
For the Peppermint Layer
- 1/2 cup coconut cream
- 1 large egg
- 2 Tablespoons granulated monk fruit sweetener or granulated stevia
- 1/4 teaspoon peppermint extract
- Festive sprinkles (if desired)
Variations
This recipe is wonderfully flexible! Here are some fun ways to put your spin on these brownies:
- Add Nuts: Stir in some chopped walnuts or pecans for an extra crunch.
- Try Different Extracts: Swap out peppermint for almond extract for a unique flavor twist.
- Swirl in Nut Butter: Create a marbled effect by adding dollops of almond or peanut butter into the batter before baking.
- Top with Coconut Flakes: Sprinkle unsweetened coconut flakes on top for added texture and flavor.
How to Make Dark Chocolate Peppermint Brownies
Step 1: Preheat Your Oven
Preheat your oven to 350F. This ensures that your brownies bake evenly. While it heats up, coat an 8 square pan with nonstick spray so your brownies come out easily after baking.
Step 2: Melt the Chocolate Mixture
In a large microwave-safe mixing bowl, combine the chocolate chips and butter (or coconut oil). Microwave on high for about 60 seconds until nearly melted. Stir until smooth. This step is crucial as it combines flavors and gives your brownies that luscious texture.
Step 3: Mix in Wet Ingredients
Add in the whole egg, yolk, vanilla, and applesauce into the melted mixture. Stir well until everything is nicely blended. This mixture brings moisture and richness to our brownies.
Step 4: Combine Dry Ingredients
In another bowl, whisk together the almond flour, cocoa powder, sweetener, and salt. Then gently stir this dry mixture into your wet mixture until just combined. This careful blending helps prevent overmixing which can lead to tough brownies.
Step 5: Prepare the Pan
Pour the brownie batter into your prepared pan and smooth it out evenly. Set this aside while we work on our peppermint layer—it’s going to be delicious!
Step 6: Whisk Together Coconut Mixture
In a separate bowl, whisk together the coconut cream and egg until well combined. Stir in the sweetener and peppermint extract. This layer adds a refreshing contrast to the rich brownie base.
Step 7: Pour Peppermint Layer Over Brownies
Gently pour this peppermint mixture over the brownie batter already in your pan. Spread it into an even layer so every bite has that lovely minty flavor.
Step 8: Add Some Festive Touches
If you’re feeling festive, sprinkle some colorful sprinkles over the top! It adds charm and makes these brownies extra special.
Step 9: Bake Away!
Bake your creation for about 45-50 minutes until a tester comes out mostly clean. Keep an eye on them as every oven can vary slightly!
Step 10: Chill Before Serving
Once baked, let them cool at room temperature before transferring them to the refrigerator. Chilling is key; it helps set everything perfectly before cutting into those beautiful squares!
I hope you enjoy making these Dark Chocolate Peppermint Brownies as much as I do! They’re perfect for sharing or savoring all by yourself—no judgment here!
Pro Tips for Making Dark Chocolate Peppermint Brownies
Making these brownies is a delightful experience, and with a few pro tips, you can elevate them to the next level!
-
Use quality chocolate chips: Choosing high-quality dark chocolate chips enhances the flavor of your brownies, making them richer and more indulgent.
-
Don’t skip the chilling step: Allowing the brownies to chill in the refrigerator after baking helps them set properly, resulting in a fudgier texture that’s hard to resist.
-
Check for doneness carefully: Since ovens vary, keep an eye on your brownies during the last few minutes of baking. A toothpick should come out mostly clean; a few moist crumbs are okay for that perfect fudgy consistency.
-
Experiment with add-ins: Feel free to customize your brownies by adding chopped nuts or dairy-free peppermint candies. These add a delightful crunch and extra festive flair!
-
Store properly: Keep any leftovers in an airtight container in the fridge. This not only preserves freshness but also enhances the flavors as they meld over time.
How to Serve Dark Chocolate Peppermint Brownies
These Dark Chocolate Peppermint Brownies are not just delicious; they also make a stunning treat for any occasion! Present them beautifully and enjoy with friends and family.
Garnishes
- Whipped coconut cream: A dollop of whipped coconut cream provides a light and airy contrast to the dense brownies.
- Crushed peppermint candies: Sprinkle some crushed peppermint candies on top for an extra holiday touch that adds both flavor and visual appeal.
- Fresh mint leaves: Adding fresh mint leaves as a garnish creates a refreshing touch and enhances the peppermint flavor.
Side Dishes
- Fresh fruit salad: A bright mix of seasonal fruits complements the rich chocolate nicely while adding a refreshing burst of flavor.
- Coconut milk ice cream: This creamy dessert pairs perfectly with warm brownies, creating a delightful contrast in temperature and texture.
- Chia seed pudding: A light and nutritious option that balances out the richness of brownies; try it flavored with vanilla or cocoa for added depth.
- Herbal tea: Sipping on a warm cup of herbal tea, like peppermint or chamomile, can enhance your dessert experience, providing warmth and comfort alongside your decadent treat.
Enjoy serving these delightful Dark Chocolate Peppermint Brownies at your next gathering or simply indulge in their rich flavors on a cozy evening at home!
Make Ahead and Storage
These Dark Chocolate Peppermint Brownies are perfect for meal prep! You can whip up a batch and enjoy them throughout the week or share them with friends and family.
Storing Leftovers
- Store the brownies in an airtight container at room temperature for up to 3 days.
- For longer freshness, refrigerate them, where they will last up to a week.
- Ensure they are completely cooled before storing to prevent condensation.
Freezing
- Cut the brownies into individual squares before freezing for easy access.
- Wrap each square tightly in plastic wrap and then place them in a freezer-safe bag.
- They can be frozen for up to 3 months. Just remember to label the bag!
Reheating
- Allow frozen brownies to thaw in the refrigerator overnight before enjoying.
- For a warm treat, reheat in the microwave for about 10-15 seconds or until warmed through.
- If you prefer them slightly crispy, pop them in a preheated oven at 350F for about 5 minutes.
FAQs
Here are some common questions about making Dark Chocolate Peppermint Brownies.
Can I use regular flour instead of almond flour in Dark Chocolate Peppermint Brownies?
While almond flour is key for keeping these brownies gluten-free and paleo-friendly, you can substitute it with a gluten-free all-purpose flour blend if needed. Just keep an eye on the consistency of the batter!
How do I ensure my Dark Chocolate Peppermint Brownies turn out fudgy?
To achieve that delicious fudgy texture, avoid over-mixing once you combine the wet and dry ingredients. Also, make sure to bake just until a tester comes out mostly clean; underbaking slightly will help retain moisture.
Can I replace coconut cream with another ingredient?
Yes! If coconut cream isn’t available, you can use full-fat coconut milk or even whipped aquafaba as alternatives. Just ensure that any substitution maintains a creamy consistency.
What’s the best way to add festive sprinkles to my brownies?
Sprinkle your desired toppings right before baking so they adhere better. Alternatively, you can add them after cooling for a fun decoration!
Final Thoughts
I hope you enjoy making these decadent Dark Chocolate Peppermint Brownies as much as I do! They are not only delicious but also perfect for sharing during gatherings or simply indulging on your own. Remember, every bite is filled with chocolatey goodness and a hint of mint that will surely brighten your day. Happy baking!
Dark Chocolate Peppermint Brownies
Indulge in the rich decadence of Dark Chocolate Peppermint Brownies, a delightful treat that perfectly combines fudgy chocolate with a refreshing hint of peppermint. These brownies are not only gluten-free and paleo-friendly but are also easy to prepare, making them an ideal dessert for any occasion—from family gatherings to cozy evenings at home. With their luscious texture and festive flavor, each bite is a warm hug on a chilly day. Enjoy them as a guilt-free indulgence or share them with loved ones; either way, they are sure to impress!
- Prep Time: 15 minutes
- Cook Time: 50 minutes
- Total Time: 1 hour 5 minutes
- Yield: Approximately 16 servings 1x
- Category: Dessert
- Method: Baking
- Cuisine: American
Ingredients
- 6 tablespoons butter or coconut oil
- ½ cup chocolate chips
- 1 large egg + 1 yolk
- ½ teaspoon vanilla extract
- ½ cup no-sugar-added applesauce
- ¾ cup blanched almond flour
- ½ cup cocoa powder
- 3 tablespoons granulated monk fruit sweetener or stevia
- ¼ teaspoon salt
- ½ cup coconut cream
- 1 large egg
- 2 tablespoons monk fruit sweetener or stevia
- ¼ teaspoon peppermint extract
Instructions
- Preheat your oven to 350F. Coat an 8" square pan with nonstick spray.
- In a microwave-safe bowl, melt the chocolate chips and butter (or coconut oil) together until smooth.
- Stir in the whole egg, yolk, vanilla, and applesauce until fully combined.
- In another bowl, whisk together the almond flour, cocoa powder, sweetener, and salt. Gently combine with the wet mixture.
- Pour the brownie batter into the prepared pan and smooth it out.
- In a separate bowl, whisk together coconut cream, egg, sweetener, and peppermint extract for the peppermint layer.
- Pour this mixture over the brownie batter evenly.
- Bake for about 45-50 minutes until a tester comes out mostly clean.
- Allow cooling at room temperature before chilling in the fridge before cutting.
Nutrition
- Serving Size: 1 brownie (40g)
- Calories: 140
- Sugar: 2g
- Sodium: 70mg
- Fat: 9g
- Saturated Fat: 5g
- Unsaturated Fat: 4g
- Trans Fat: 0g
- Carbohydrates: 12g
- Fiber: 3g
- Protein: 3g
- Cholesterol: 30mg